

I have recently released a new DI container library "Koject" for Kotlin Multiplatform. In this article, I will introduce the role of a DI container and the features of "Koject".
Role of a DI Container
To understand the role of a DI Container (Dependency Injection Container), we first need to know about Dependency Injection.
Dependency Injection is a technique that improves the testability and reusability of code by injecting dependencies from outside the class.
Improving Testability with Dependency Injection
Let's consider the example of a mobile app that uploads videos. The app selects a video from the local device, uploads it to a server, and displays a notification when the upload is complete.
We can implement the VideoUploadService using the VideoUploader class to upload the video and the NotificationManager class to display the notification as follows:
class VideoUploadService {
    fun upload(video: Video) {
        val result = VideoUploader().upload(video)
        if (result.isSucceeded) {
            NotificationManager()
                .showNotification("Upload complete")
        } else {
            NotificationManager()
                .showNotification("Upload failed")
        }
    }
}
In this implementation, the VideoUploadService class directly depends on the VideoUploader and NotificationManager classes, as it instantiates them.
The VideoUploader class communicates with the server, and the NotificationManager displays notifications on the device.
Depending directly on these external classes causes issues during testing, as it triggers communication with the external system, leading to instability and long testing times.
Dependency Injection suggests passing these external dependencies from outside the class.
We can rewrite the previous example using Dependency Injection as follows:
class VideoUploadService(
    private val videoUploader: VideoUpaloder,
    private val notificationManager: NotificationManager,
) {
    fun upload(video: Video) {
        val result = videoUploader.upload(video)
        if (result.isSucceeded) {
            notificationManager
                .showNotification("Upload complete")
        } else {
            notificationManager
                .showNotification("Upload failed")
        }
    }
}
We pass the necessary classes through the constructor. This technique is called Constructor Injection.
This way, we can write tests by substituting the real VideoUploader and NotificationManager classes with their fake counterparts, which do not communicate with the external system.
class VideoUploadServiceTest {
    private val videoUploader =
        FakeVideoUploader()
    private val notificationManager =
        FakeNotificationManager()
    private val videoUploadService =
        VideoUploadService(videoUploader, notificationManager)

    @Test
    fun test() {
        val video = Video("test.mp4")
        videoUploadService.upload(video)
        /* ... */
    }
}
Moreover, following the Dependency Injection approach makes the relationships between classes more explicit. Even without reading the entire code, we can understand that VideoUploadService is related to VideoUploader and NotificationManager by merely looking at the constructor.
Improving Reusability with Dependency Injection
From the perspective of reusability, Dependency Injection is effective.
When implementing the video upload application on both Android and iOS, the method of displaying notifications is different between the two platforms.
By passing NotificationManager in the constructor, we only need to replace the NotificationManager for Android and iOS, and VideoUploadService can be used commonly.
// for Android
val videoUploadService = VideoUploadService(
    videoUpaloder = VideoUpaloder(),
    notificationManager = AndroidNotificationManager(),
)
// for iOS
val videoUploadService = VideoUploadService(
    videoUpaloder = VideoUpaloder(),
    notificationManager = IOSNotificationManager(),
)
By following the Dependency Injection pattern, we can use the same code for different platforms and use cases.
Consolidate Dependency Resolution with DI Containers
As mentioned earlier, Dependency Injection has several benefits. However, each class needs to specify all of its dependencies when used, and as the number of dependencies increases, creating instances becomes more difficult.
val storageApi = StorageApi(Dispatchers.IO)
val videoUpaloder = VideoUpaloder(storageApi)
val notificationManager = NotificationManager(context)
val videoUploadService = VideoUploadService(
    videoUpaloder,
    notificationManager,
)
This is where DI containers come in handy. A DI container has the ability to automatically organize the necessary dependencies and create instances.
With Koject, we can register classes to the DI container by adding the @Provides annotation when declaring the class, and then use the inject() function to obtain an instance with resolved dependencies.
@Provides
class VideoUpaloder

@Provides
class NotificationManager

@Provides
class VideoUploadService(
    private val videoUploader: VideoUpaloder,
    private val notificationManager: NotificationManager,
) {
    /* ... */
}
Koject.start()

val videoUploadService = inject<VideoUploadService>()
By using Koject, we can reap the benefits of Dependency Injection without writing complex code.
Features of Koject
Koject is a new DI container library for Kotlin Multiplatform. Here are some of its main features.
Easy setup with annotations
Koject can be easily used with multiple annotations.
By adding the @Provides annotation to the class declaration, you can register it to the DI container.
@Provides
class Repository

@Provides
class Controller(
    private val repository: Repository
)
After calling Koject.start(), you can obtain the instance of the registered class using the inject() method.
fun main() {
    Koject.start()

    val controller = inject<Controller>()
}
In this case, calling inject<Controller>() will create an instance of the Controller class using the primary constructor of Controller and the dependency with the @Provides annotation, which is provided by Koject.
Provide as Singleton
By adding the @Singleton annotation in addition to the @Provides annotation, you can limit the creation of instances to only once and reuse them throughout the application.
This is especially useful for dependencies that are costly to create or that need to be shared among multiple classes.
@Singleton
@Provides
class Api

@Singleton
@Provides
class Repository(
    private val api: Api,
)
In this case, Koject will create only one instance of the Api class and Repository, and reuse them throughout the application.
Provide as supertype
When practicing the DI pattern, the implementation class is often used as a superclass such as an interface.
With Koject, you can easily provide it as a supertype by using the @Binds annotation.
The following example shows how to provide the RepositoryImpl as a Repository using the @Binds annotation.
@Binds
@Provides
class RepositoryImpl: Repository

interface Repository
More details
For more detailed usage, please refer to the documentation.
Support for Kotlin Multiplatform
Koject supports Kotlin Multiplatform, allowing you to create dependency graphs for each platform and even swap classes depending on the platform.
Check out the setup instructions specific to each platform.
Checking the Dependency Graph at Compile Time
Koject works by generating code using KSP. The dependency graph is generated at compile time, and if there are any missing dependencies or duplicate providers, the compile process will fail with an error. This helps prevent unexpected errors at runtime.
// No @Provides annotation
class Repository

@Provides
class Controller(
    private val repository: Repository
)
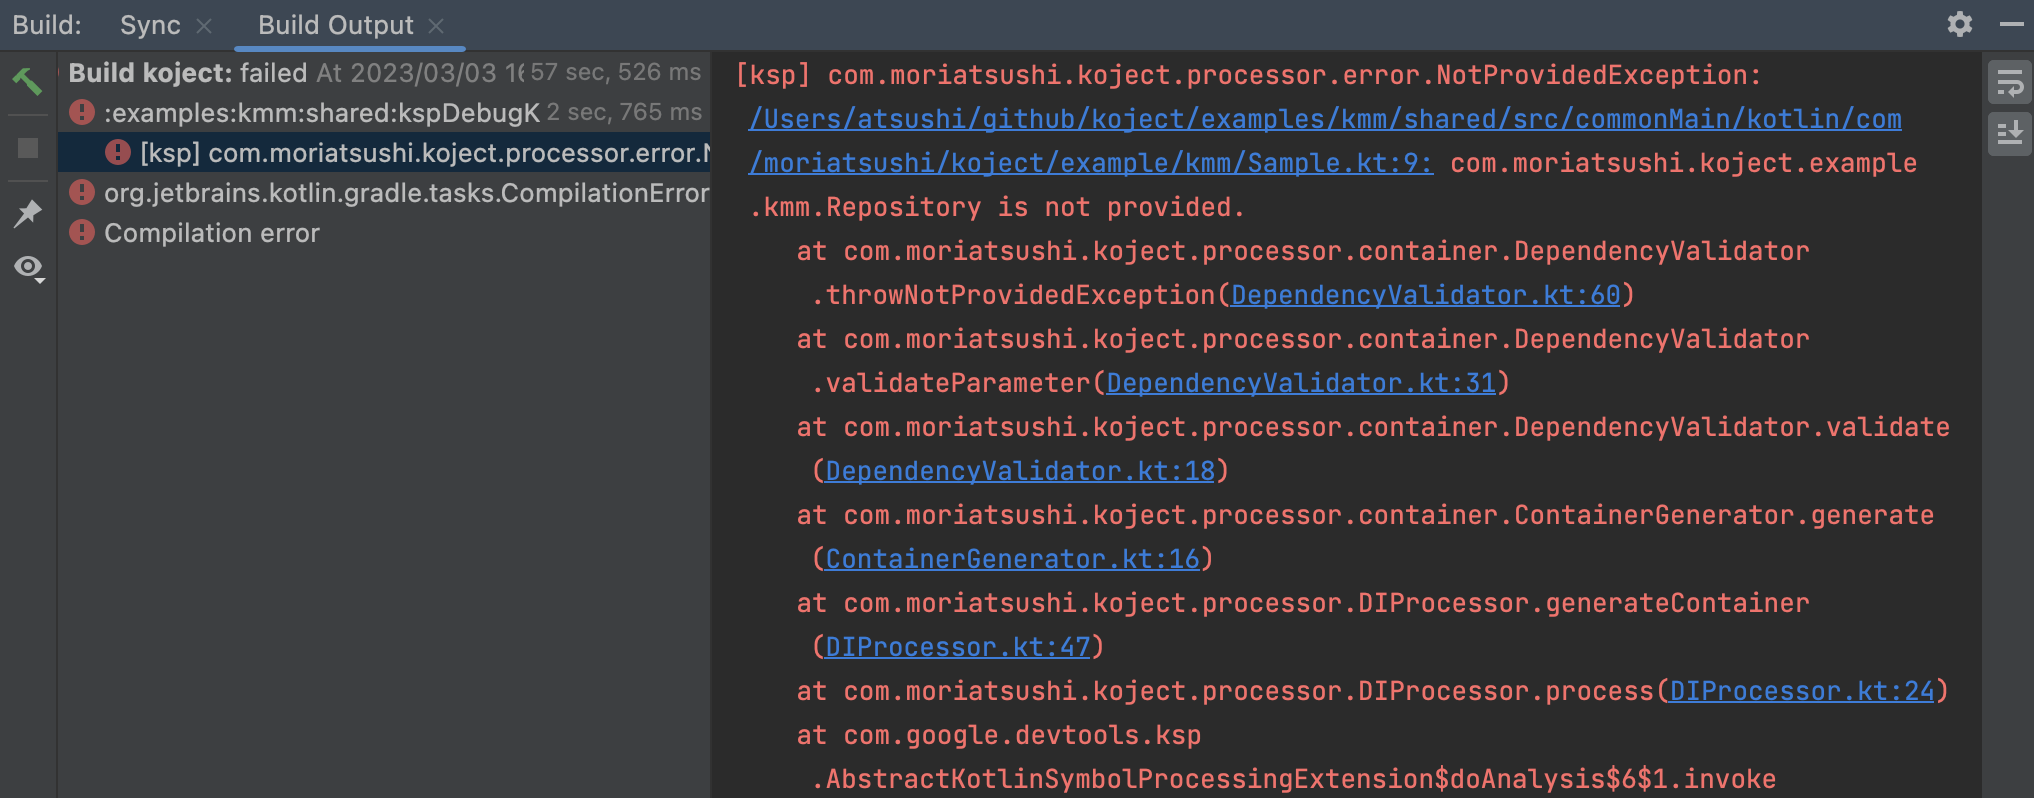
Note that currently Koject does not check whether the class being called with inject() has been provided, which can lead to runtime errors like the following:
// No @Provides annotation
class SampleClass

fun main() {
    Koject.start()

    val controller = inject<SampleClass>() // NotProvidedException!!
}
Future Plans
Koject has just been born, and in order to make it a more convenient library, I plan to enhance the following support in the future:
If you notice anything else, please send us your feedback on the Issue page.